Understanding Finish Trim and Its Role in Interior Design
What is Finish Trim? Definitions and Types
Finish trim, often referred to as interior molding, is an essential element in the construction and decoration of residential and commercial interiors. It encompasses a variety of narrow decorative strips used to conceal joints, transition spaces, or add aesthetic detailing to walls, ceilings, and floors. Finish trim plays a pivotal role in achieving a polished, cohesive look within a space, bridging functional necessity with design elegance.
At its core, finish trim includes elements such as baseboards, crown molding, door and window casings, chair rails, and other decorative moldings that enhance the visual appeal of interiors.
These moldings are classified based on their purpose and placement:
- Baseboards: Run along the bottom of walls, providing a clean transition from wall to floor while protecting walls from kicks and scuffs.
- Crown Molding: Installed at the junction of walls and ceilings, this trim adds a decorative crown-like element that provides depth and elegance.
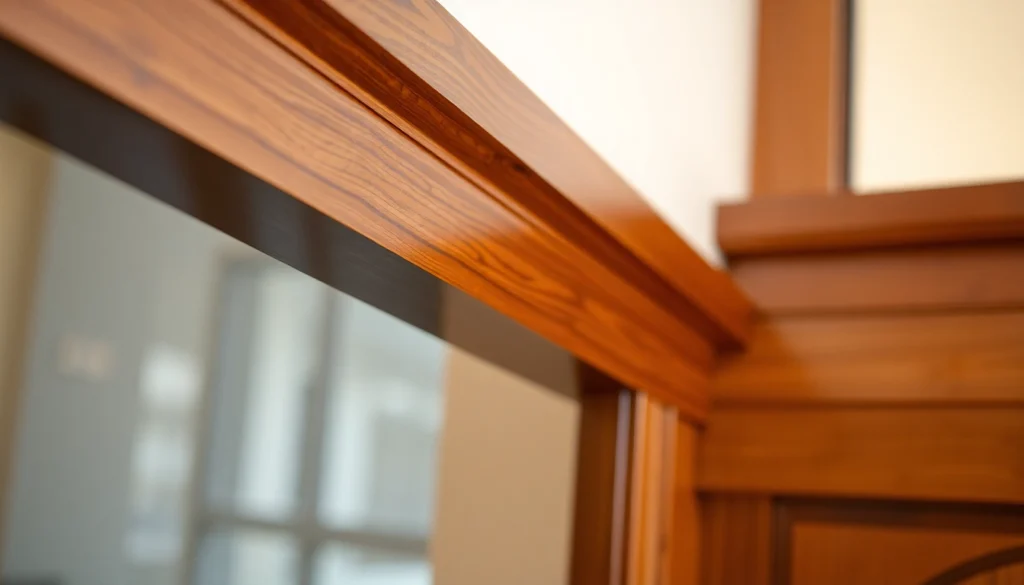
- Door and Window Casings: Framing around doors and windows, these moldings hide gaps and add a finished look.
- Picture Rails and Chair Rails: Horizontal moldings that serve decorative and functional purposes, such as hanging artwork or protecting walls from chairs.
The diversity of types of finish trim allows homeowners and designers to customize aesthetic themes, from traditional ornate styles to sleek modern minimalism. Their customizations are further influenced by the materials used, which include traditional wood, MDF, PVC, or composite materials.
If you want to explore a broad selection of finish trim options, visit reputable suppliers like Finish trim, which offers a variety of high-quality moldings suited to different styles and needs.
Common Materials Used in Finish Trim
Selecting the right material for finish trim is foundational to achieving durability, aesthetic appeal, and ease of installation. The most common materials include:
- Solid Wood: Traditional and highly desirable for its natural beauty and longevity. Popular wood species include oak, maple, cherry, pine, and poplar. While aesthetically pleasing, wood can be susceptible to moisture and warping if not properly installed or maintained.
- Medium Density Fiberboard (MDF): An engineered wood product that offers a smooth surface, affordability, and ease of painting. MDF is ideal for intricate profiles and larger quantities but is less suitable for high-moisture environments.
- PVC and Vinyl: Moisture-resistant, lightweight, and suitable for bathrooms, kitchens, or exterior applications. These materials often come pre-finished, reducing the need for painting and sealing.
- Polystyrene and Polyurethane: Lightweight, cost-effective options often used for decorative molding details. These are easy to cut and install and can be painted or finished to match desired aesthetics.
Each material offers different benefits and trade-offs. For example, solid wood delivers authentic warmth but may require more maintenance, whereas MDF provides a smooth finish ideal for painting. Choosing the right material depends on your specific project requirements, budget, and desired look.
Design Principles for Choosing the Right Finish Trim
Designing with finish trim involves understanding how different profiles, sizes, and styles complement your interior aesthetic. Here are key principles to guide your selection:
- Style Cohesion: Match trim profiles with your overall interior style—ornate profiles for traditional designs, clean and simple lines for modern interiors.
- Proportion and Scale: Select trim sizes proportionate to the room’s height and size—larger crown moldings for high ceilings, narrower baseboards for small rooms.
- Material Compatibility: Coordinate the material of your trim with flooring, cabinetry, and other architectural features for a cohesive look.
- Color and Finish: Decide whether to paint, stain, or leave natural to best complement your wall colors and overall décor.
Proper application of these principles ensures your finish trim enhances your space without overwhelming or underwhelming the room’s design.
2. Selecting Quality Finish Trim for Your Project
Features of High-Quality Finish Moulding
High-quality finish molding exhibits robustness, precise craftsmanship, and aesthetic appeal. Key features include:
- Smooth Surface: Consistent texture free of knots, cracks, or rough patches, facilitating a professional finish.
- Sharp Profiles: Well-defined edges and decorative details that hold paint or stain evenly and resist chipping.
- Dimensional Stability: Resistance to warping or twisting over time, especially in fluctuating climate conditions.
- Accurate Dimensions: Ready-to-install sizes with minimal waste, ensuring tight joints and seamless fits.
Choosing such moldings often involves sourcing from reputable suppliers known for their craftsmanship and quality controls, like the options featured at Finish trim.
Cost Considerations and Material Options
Budgeting for finish trim requires balancing material costs with the desired quality and longevity. Typically:
- Solid Wood: Highest cost but best in appearance and durability, suitable for prominent or heirloom projects.
- MDF: More affordable, excellent for indoor painting, making it a popular mid-range choice for many homeowners.
- PVC/Vinyl: Cost-effective and moisture-resistant, ideal for bathrooms and exteriors, often at a lower price point.
Costs vary depending on profile complexity, length, and finish. Investing more upfront in quality moldings can yield savings over time through reduced replacement and maintenance.
3. Step-by-Step Guide to Installing Finish Trim
Preparation and Measurement Techniques
Proper installation begins with accurate measurement and preparation:
- Measure wall lengths carefully, allowing for waste and miter cuts at corners.
- Use a reliable framing square and measuring tape to mark cut lines precisely.
- Acclimate trim to room temperature and humidity prior to installation to mitigate expansion or contraction.
A misstep at this stage leads to gaps or misalignments, necessitating rework. For example, calculating the angles for inside and outside corners ensures tight joints—often mitered at 45 degrees for most common angles.
Cutting and Fitting Finish Trim Pieces
Accurate cutting is critical to seamless joints:
- Use a quality miter saw with a fine-tooth blade for precise angle cuts.
- Cut trim slightly longer than measurements; then, make final adjustments for tight fits.
- Test-fit each piece before fastening to ensure proper angles and joinery.
For complicated joints, consider using coping techniques for inside corners, which provides a cleaner joint than miters and reduces gaps.
Secure Installation Tips for a Seamless Look
Once fitted, attach trim securely:
- Use finishing nails or pneumatic nail guns for quick, precise fastening.
- Place nails just below the surface, then countersink for filling and finishing.
- Apply adhesive in addition to nails for extra stability, especially for heavier profiles.
Finish nails should be discreetly hammered below the surface and filled with wood filler or putty. Sand smooth before painting or staining.
4. Achieving a Premium Finish: Painting and Finishing Touches
Choosing the Best Paint and Sheen for Trim
Selecting the appropriate paint and sheen dramatically impacts the final aesthetic and durability:
- Sheen: Satin or semi-gloss sheens are preferred for trim due to their durability and washability.
- Paint Type: Latex paints by brands such as Benjamin Moore Aura provide smooth, durable finishes that resist scuffs and stains.
- Color: Classic whites or off-whites create a timeless look, but bold colors can accentuate trim details.
For best results, use high-quality paints formulated for trim surfaces—apply with brushes and rollers designed for smooth finishes, and avoid low-quality paints that may peel or stain unevenly.
Step-by-Step Painting and Sanding Tips
Achieving a professional-looking finish requires meticulous preparation:
- Ensure surfaces are clean, dry, and free of dust.
- Sand surfaces lightly with fine-grit sandpaper for a smooth base.
- Apply a primer suitable for your material to promote adhesion and uniform color.
- Use quality brushes or sprayers to apply paint evenly, following manufacturer instructions.
- Once dried, lightly sand edges for a seamless look and apply additional coats if necessary.
Patience and precision during painting eliminate imperfections and ensure that your finish trim rivals professional standards.
Final Inspection and Touch-up Strategies
After painting, thoroughly inspect your work:
- Look for uneven coverage, drips, or gaps in corners.
- Touch up problem areas with a fine brush for consistent color and texture.
- Remove painter’s tape carefully to avoid peeling fresh paint.
- Reassess the overall look from different angles and lighting conditions.
Proper finishing touches not only elevate aesthetics but also extend the lifespan of your trim.
5. Troubleshooting Common Finish Trim Challenges
Fixing Uneven Joints and Gaps
Despite careful planning, gaps and misalignments can occur:
- Use wood filler or caulk to conceal small gaps or cracks.
- For larger gaps, add supplementary trim pieces or adjust joint angles if possible.
- Sanding smooth after filler application produces a seamless appearance.
Consistent measurement and precise cuts minimize these issues but knowing how to correct them ensures a professional finish.
Handling Wood Cracks and Warping
Wood may develop cracks or warping due to moisture or temperature fluctuations:
- Identify and replace severely warped pieces.
- Sanding or steaming small cracks can sometimes restore the appearance.
- Maintain proper environmental conditions to prevent future issues.
Choosing moisture-resistant materials like PVC for exterior or high-humidity areas reduces these problems.
Maintaining and Updating Your Finish Trim Over Time
Regular maintenance prolongs the beauty and function of finish trim:
- Clean trims periodically with mild soap and water.
- Touch up paint or stain as needed to address scuffs or discoloration.
- Inspect for damage or deterioration and replace affected sections promptly.
Over time, you may opt to repaint or re-stain to refresh the decor or update your interior style.